
Send a short project brief before the visit.
A contractor can use the walkthrough better when the address, property type, affected rooms, intended result, target timing, and known restrictions are already clear.
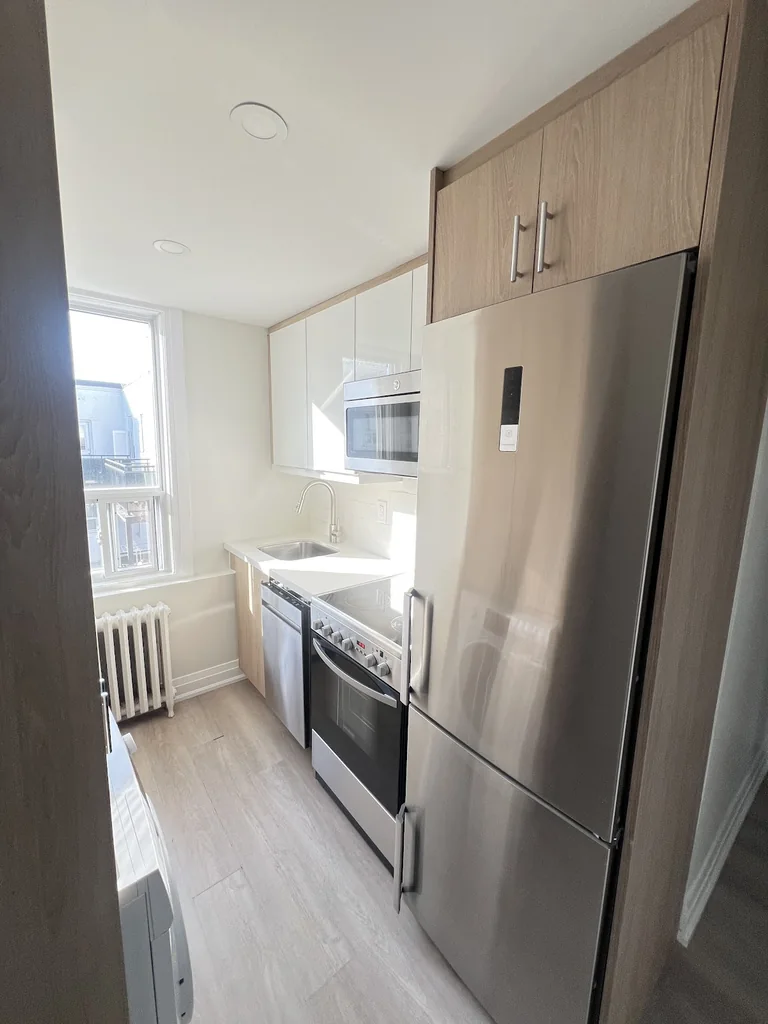
Attach current photographs and any drawings, condominium rules, inspection notes, previous repair history, product selections, or building-management requirements. Mark which items are required, which are optional, and which still need advice. This prevents an optional idea from being priced as an approved instruction.
Walk room by room
For each area, record what stays, what is removed, what moves, and what must be installed. Look beyond the obvious finished surface. Discuss demolition, protection, substrate preparation, patching, electrical and plumbing connections, ventilation, trim, transitions, disposal, cleaning, testing, and final touch-ups.
- Photograph every wall, floor, ceiling, fixture, cabinet run, opening, and access route that affects the work.
- Identify owner-supplied products and confirm who checks dimensions, receives deliveries, stores materials, and handles damage or shortages.
- Ask how unknown conditions will be documented, priced, approved, and scheduled before extra work starts.
- Confirm whether occupants, pets, furniture, elevators, loading areas, parking, noise rules, or restricted work hours affect the sequence.
Assign permits and trade documents
Do not leave permits, drawings, inspections, condominium approvals, or trade documentation as assumptions. Write down who checks the requirement, who applies, who pays, and what must be delivered at closeout. Ontario’s consumer guidance recommends putting contract changes in writing and setting out responsibility for permits in the agreement.
If electrical work is involved, ask who the Licensed Electrical Contractor is and how the ESA notification and Certificate of Acceptance will be handled. If plumbing, HVAC, structural, moisture, hazardous-material, or design questions arise, identify the qualified person responsible for that work.
Create a comparable quotation request
A total price is meaningful only when the scope underneath it is clear. Ask for written inclusions, exclusions, allowances, taxes, payment milestones, anticipated duration, warranty terms, and the change-order process. Confirm whether preparation, floor and dust protection, debris removal, delivery, disposal, cleanup, permit fees, design, and testing are included.
Allowances should state the amount and what it covers. A useful estimate also separates base scope from optional upgrades so decisions can be made without rebuilding the entire quote.
End with next steps
Before the contractor leaves, list every unanswered question, the person responsible, and the due date. Confirm what additional measurements, selections, approvals, or specialist reviews are needed before a firm scope can be issued. Ask how long the quote remains valid and what could change the schedule or price.
How do I compare the best contractors near me?
A search for “best contractors near me” or “construction companies near me” produces options, not a verified project match. Compare each contractor against the same facts: relevant work on your property type, a complete written scope, current insurance and WSIB status, real project evidence, permit and licensed-trade responsibilities, exclusions and allowances, change-order controls, warranty terms, and close-out documents.
Also confirm the service boundary. A residential remodeling contractor may focus on existing homes, while a commercial renovation contractor may focus on offices and tenant spaces; neither description automatically proves ground-up construction experience. Review JT’s current credentials, documented projects, service areas, and quote-exclusions checklist as part of the same comparison.
Official Ontario reference
Government of Ontario: rights when starting home renovations or repairs
This checklist is general planning information, not legal, code, engineering, design, or municipal advice. Confirm requirements for the real property and scope.